How to Install a Mailbox
Mailbox Repair and Installation Step-by-Step Instructions


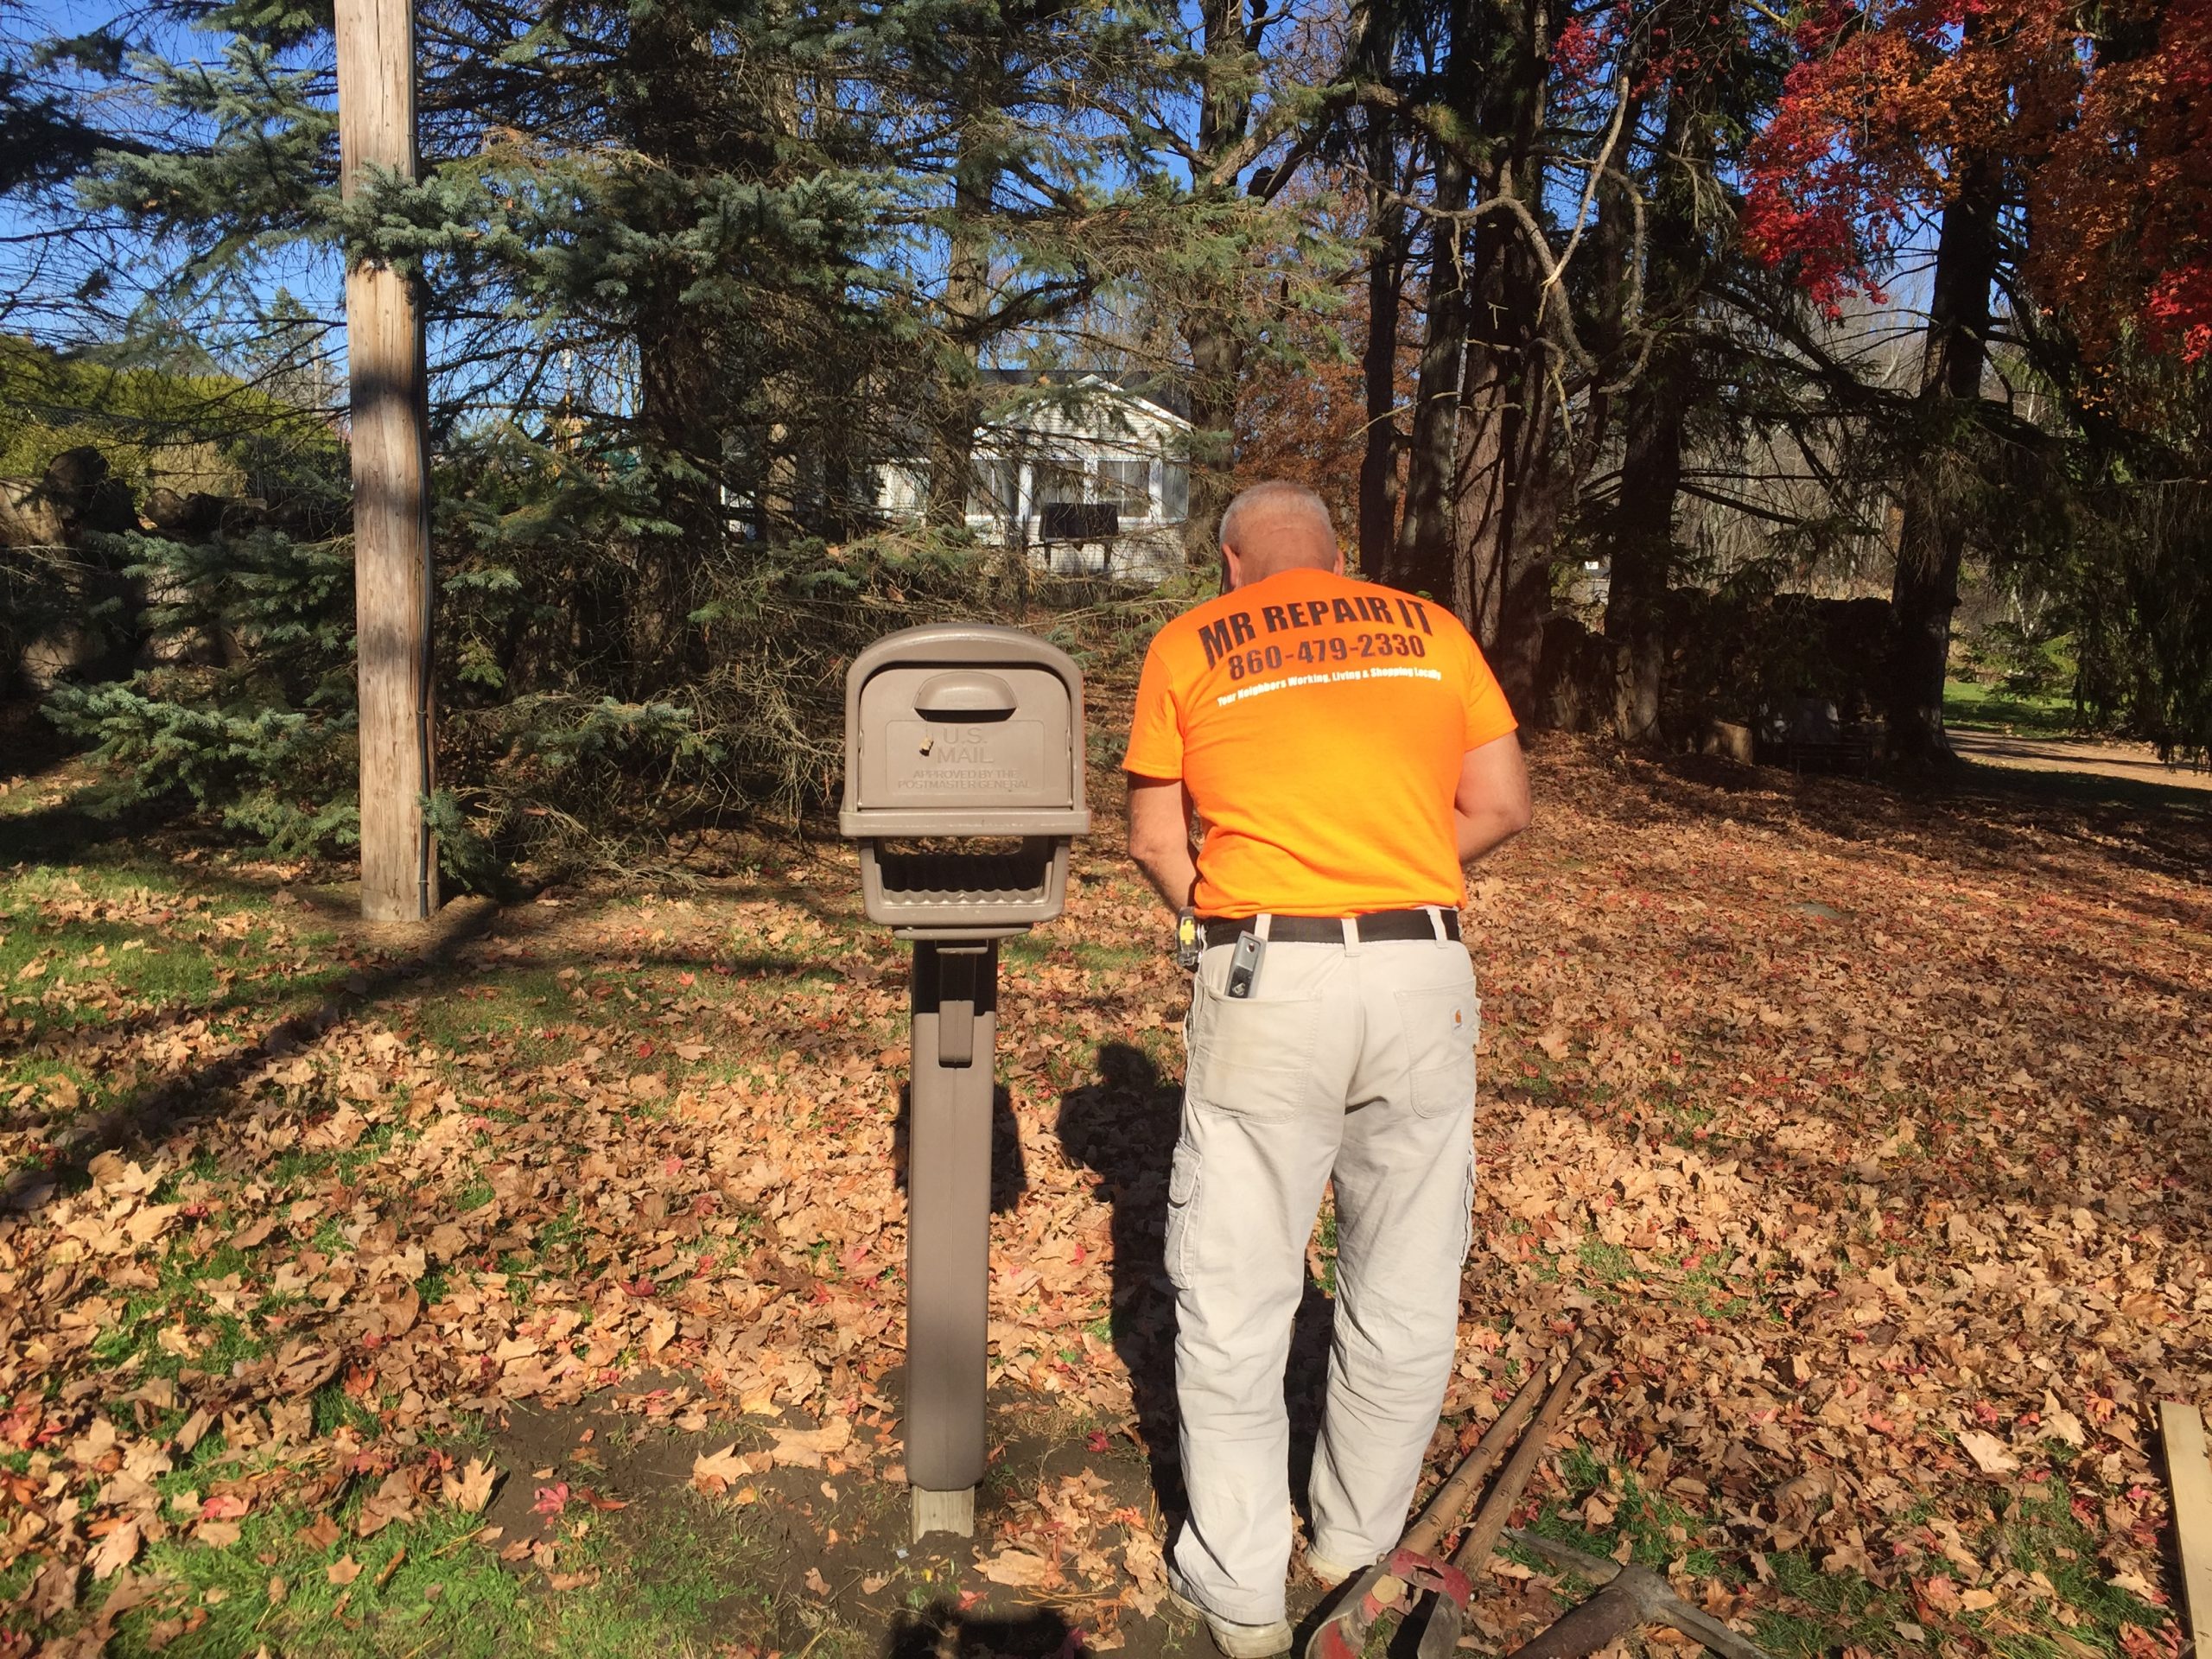
If you want your Mailbox installed professionally, consider hiring Mr. Repair It for professional results. Have a Question? Call or Text us at 860-479-2330
Step 1: Assess the damage
– Examine the mailbox pole’s condition and determine the damage’s extent. Check if the pole is broken, rotten, or unstable. Also, inspect the mailbox to see if it needs replacing.
Step 2: Gather materials
– Collect all the necessary materials and tools for the repair. This may include a new mailbox, a new mailbox post (if required), a post-hole digger, a level, a shovel, screws or nails, a screwdriver or drill, and a hammer.
Step 3: Remove the old mailbox
– If the existing mailbox is damaged or needs replacement, remove it. Unscrew or remove any screws, bolts, or nails that secure the mailbox to the post. Carefully detach the mailbox and set it aside.
Step 4: Attach the new mailbox:
– Remount the post once the post is securely set in the ground. Cut a new Mailbox Mounting base position that and the new mailbox onto the post. Use screws or nails to attach the mailbox to the post securely. Ensure that the mailbox is level and properly aligned.
Step 5: Test and finalize
– Give the repaired mailbox a gentle shake to ensure it is firmly attached to the post. Double-check that the mailbox door opens and closes smoothly. If everything looks good, you’ve successfully repaired the mailbox plate and replaced the mailbox.
Now add your Name or House Number and mission accomplished.
You must be logged in to post a comment.